Pledge Drive: 3D Printer
Re: Pledge Drive: 3D Printer
We voted last night to order the Solidoodle & 3 spools of filament. It will be here in 8-10 weeks.
Re: Pledge Drive: 3D Printer
ill pay $100 to get a small object created with your 3D printer!!
Re: Pledge Drive: 3D Printer
Just an update - our 3d printer has shipped! Should be here in about a week.
-
rylangrayston

- Posts: 22
- Joined: Sun Dec 02, 2012 2:49 pm
Re: Pledge Drive: 3D Printer
So the solid Doodle is here and late last night while i was waiting on my computer to finish running a bunch of scripts I thought id get the solid doodle printing....
Its simple to get going on any computer just do the following
1. install repetier-host-solid doodle
http://dl.dropbox.com/u/90605134/setupR ... e_0_82.exe
http://wiki.solidoodle.com/how-to-print
2.make a 3d modle you want to print with any program that exports to stl. i used blender
3. with the solid doodle pluged into your usb port open repetier-host solid doodle and hit ctrl-p , change printer too solid doodle 3 , change the com
port to which ever one works. exit the dialogue and click connect .. if the printer dosent respond then ctrl- p again and try another com port.
when it works you will here a loud clunk from the steppers on the printer.
4. in the object placement tab load you stl file and position it
5 in the slice tab hit the huge slice Play button at the top( this was hard to find .. its so big it dosent look like a button!)
After a bit of a wait it will take you to the g-code tab ... if everything looks good then click the run job button
the solid doodle auto zeros its self at the start of every job
tips
-go to the manual control tab and click "heat print bed" ahead of time
so it heats up while you are slicing you modle.
-be carful when moving the steppers manualy there are NO limit swiches moving to the left, front or bottom ! this machine can hurt its self.
-wipe the surface of the print bed with iso alcohol RIGHT befor you print .. it helps the model say secure during printing
-make a large solid base that you will trim off you model later
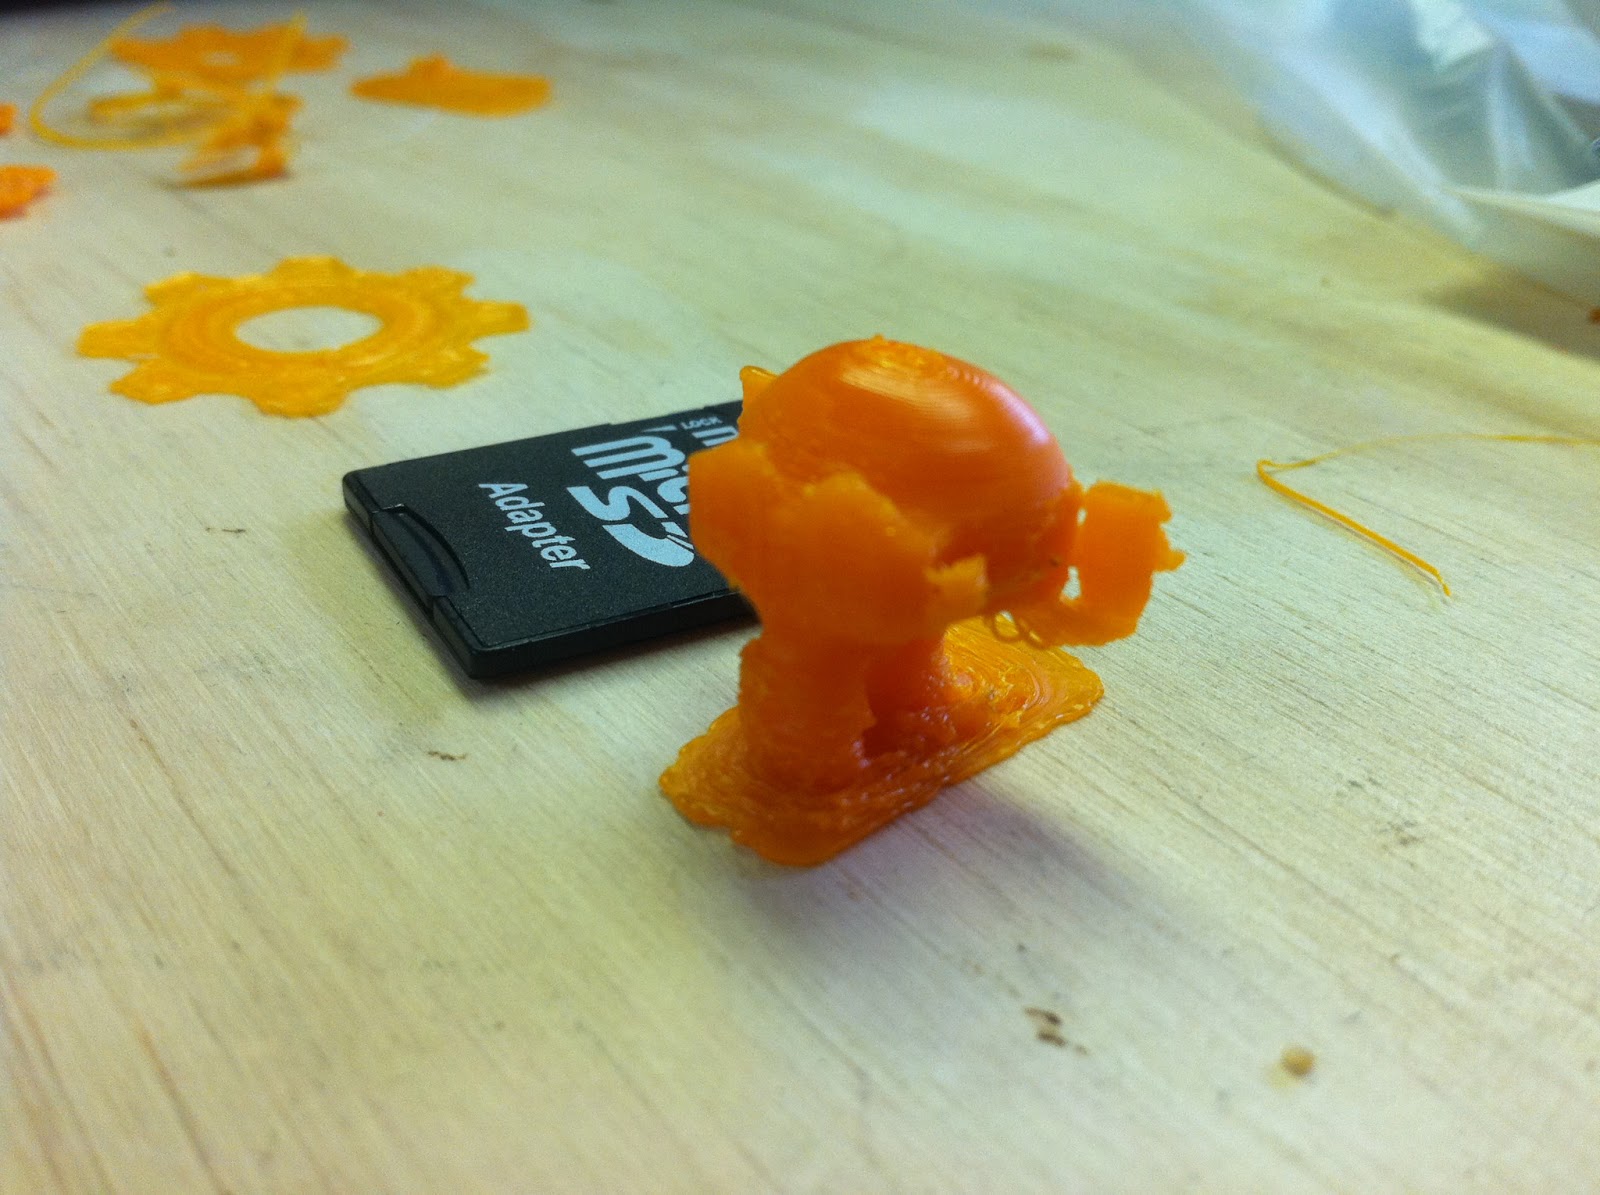
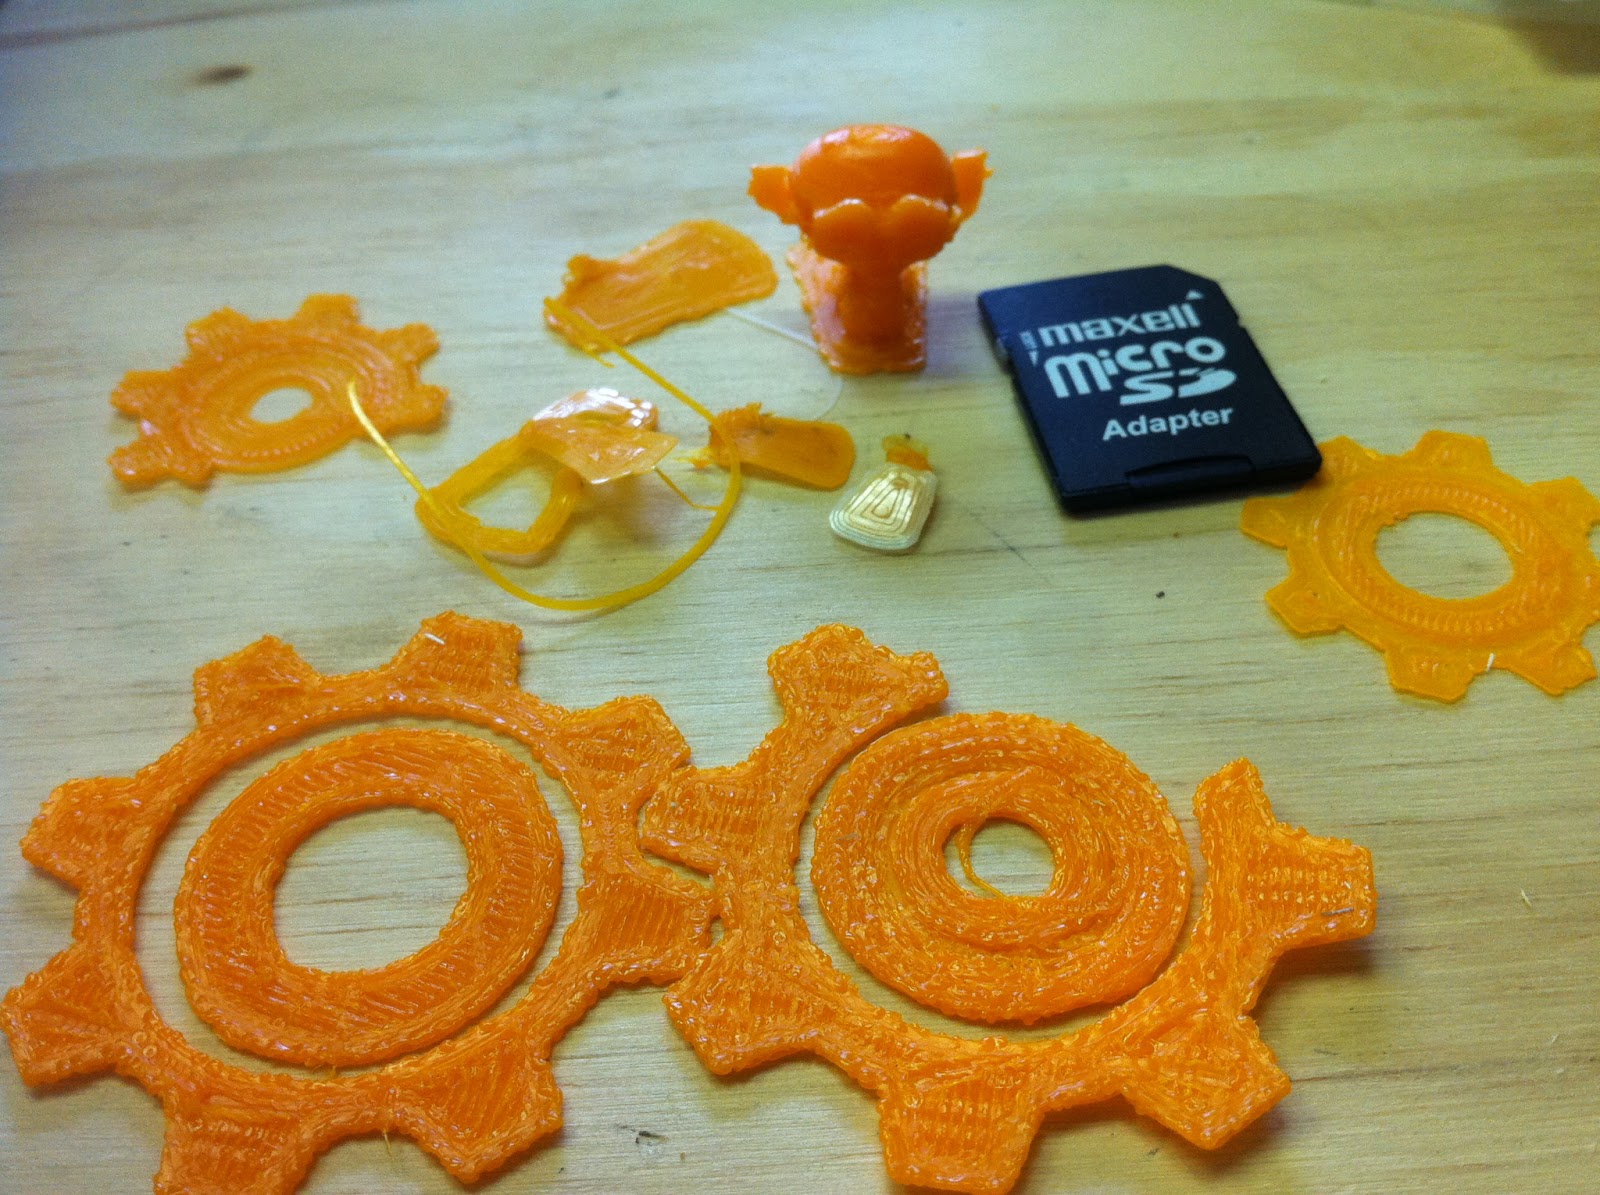
Well thats all I learned about the solid doodle last night ... here are some pics of the test prints i did....
Its simple to get going on any computer just do the following
1. install repetier-host-solid doodle
http://dl.dropbox.com/u/90605134/setupR ... e_0_82.exe
http://wiki.solidoodle.com/how-to-print
2.make a 3d modle you want to print with any program that exports to stl. i used blender
3. with the solid doodle pluged into your usb port open repetier-host solid doodle and hit ctrl-p , change printer too solid doodle 3 , change the com
port to which ever one works. exit the dialogue and click connect .. if the printer dosent respond then ctrl- p again and try another com port.
when it works you will here a loud clunk from the steppers on the printer.
4. in the object placement tab load you stl file and position it
5 in the slice tab hit the huge slice Play button at the top( this was hard to find .. its so big it dosent look like a button!)
After a bit of a wait it will take you to the g-code tab ... if everything looks good then click the run job button
the solid doodle auto zeros its self at the start of every job
tips
-go to the manual control tab and click "heat print bed" ahead of time
so it heats up while you are slicing you modle.
-be carful when moving the steppers manualy there are NO limit swiches moving to the left, front or bottom ! this machine can hurt its self.
-wipe the surface of the print bed with iso alcohol RIGHT befor you print .. it helps the model say secure during printing
-make a large solid base that you will trim off you model later
Well thats all I learned about the solid doodle last night ... here are some pics of the test prints i did....
Re: Pledge Drive: 3D Printer
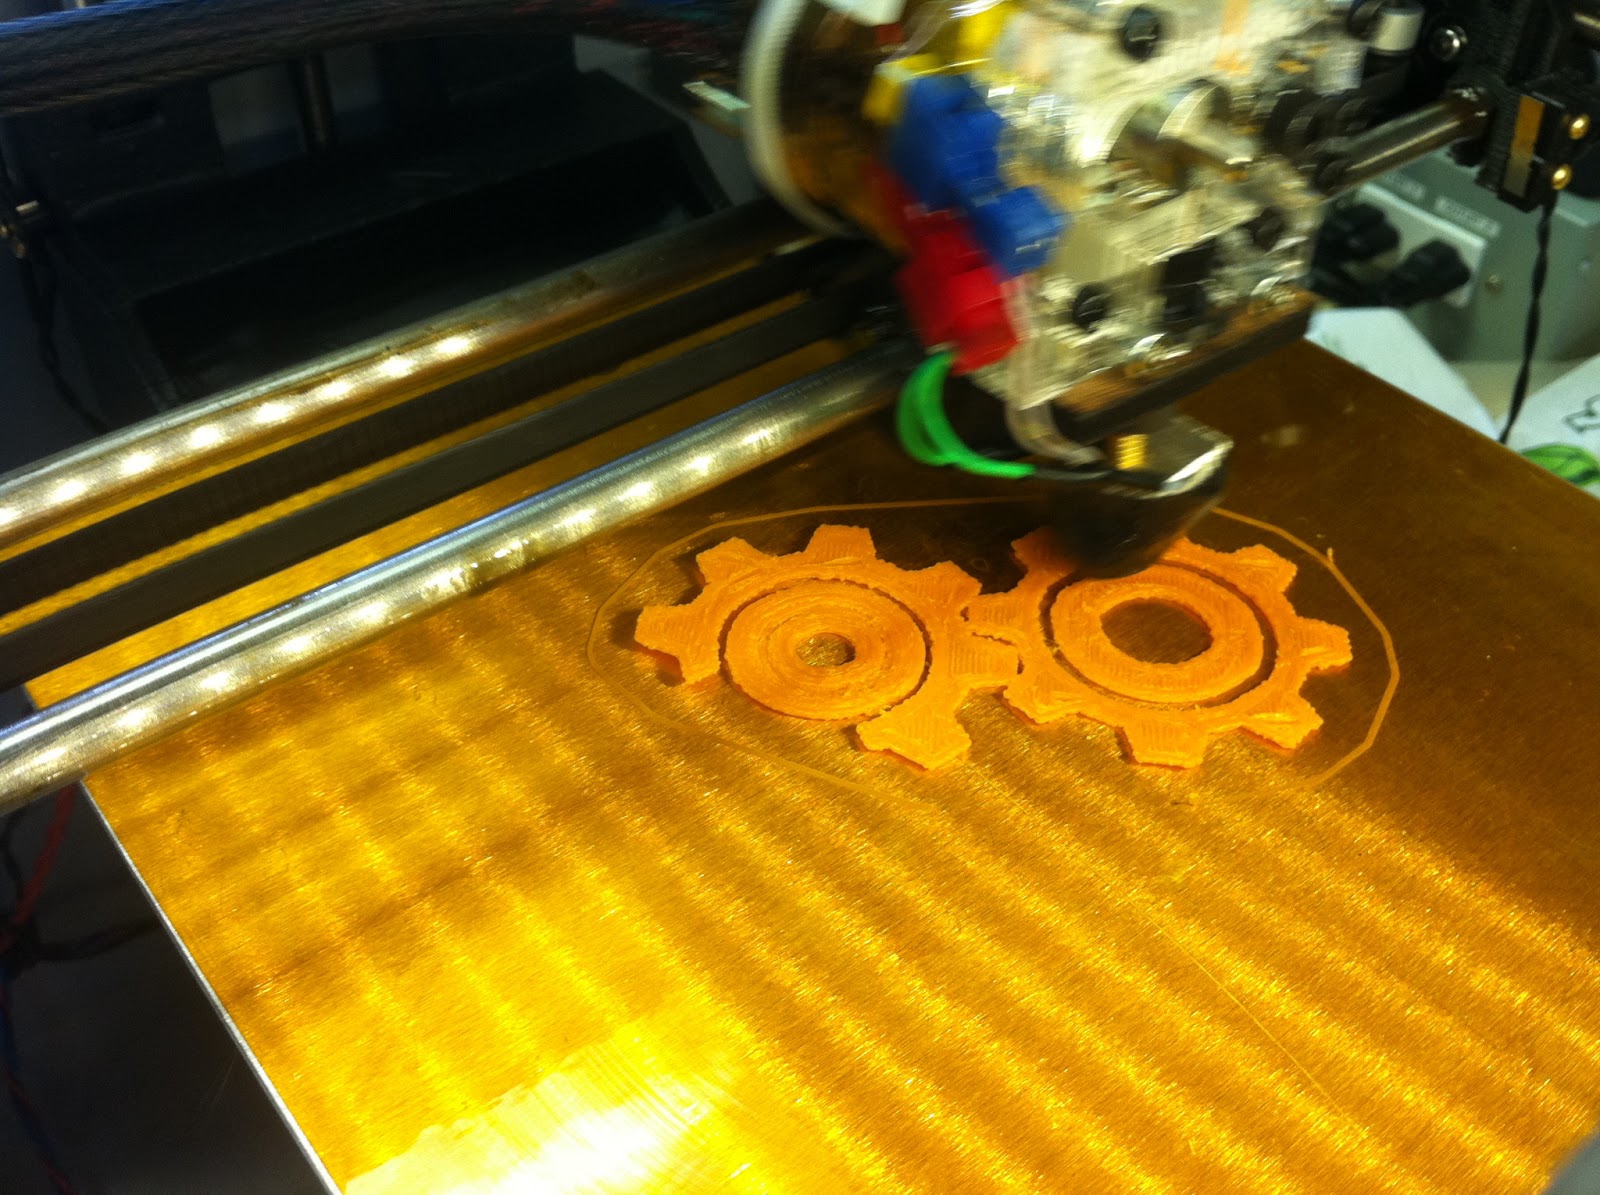
Did a few test prints right, leveled the bed, got it working fairly well. Images below.
https://www.dropbox.com/s/5vuvtbh2zybc3 ... .43.47.jpg
https://www.dropbox.com/s/99o5c9nfh3pt5 ... .43.57.jpg
This was done at .3mm. I made a change in the config to print the first layer thinner (.2mm) and slower (50% speed) because I read that these help with getting the piece sticking better. True story!